
Painting over stained, varnished kitchen cabinets is one of the best-value upgrades in a home — you keep the boxes, skip the demolition, and get a kitchen that looks new. But anyone who has tried painting over varnish knows it doesn't just work. There are two methods we trust. Here's how each works, what goes wrong, and what the alternatives cost.
The two problems
What you're fighting
Old stain and varnish want to come back through new paint. Tannins in oak and the resins in the old finish weep into light colors as a yellow or brown haze, sometimes weeks later.
Wood grain has areas of different density, especially in open-grained oak. No amount of sanding makes it smooth enough to paint without the grain showing through.

Before either method
Preparation: sand everything
Take the doors and drawer fronts off, remove the hardware, and label everything so it goes back where it came from. Then sand every surface you plan to coat — doors, drawer fronts, face frames, and edges. Sanding scuffs the gloss off the old finish and gives the new coatings something to grip. If you sand thoroughly, you don't need a TSP wash or a liquid deglosser; clean off the sanding dust and you're ready.
Cabinet kits with a two-part epoxy coating
Cabinet-coating kits bundle a bond coat and a tough, two-part epoxy-style top coat that covers the old color and finish in one system. The appeal is a hard, durable surface with fewer products to choose.
The catch is working with epoxy. The two parts have to be mixed in exact proportion, and once mixed the clock is running — you have a limited working time before it starts to set, so there's no going back to fix a run or brush mark. It needs good ventilation, it takes days to fully cure, and on vertical surfaces it's easy to get drips and uneven coverage. In skilled hands the results can be good; for most homeowners, it's a frustrating process with little margin for error.
Grain filler, primer, and a final coat
This is the method we prefer. It takes longer, but each step solves one problem, and the result is a smooth, durable, factory-looking finish.
- Fill the grain. A grain filler fills the open pores of the wood so the grain doesn't telegraph through the paint. In our experience, Aqua Coat grain filler works better than a sandable water- or solvent-based wood filler. Apply, let it dry, sand smooth, and repeat on open-grained wood like oak until the surface is flat.
- Prime — this step isn't optional. On the filler-and-primer route you have to prime, and the primer is what stops the old stain and varnish from weeping through. We find an alkyd (oil-based) primer outperforms cabinet primers and stain blockers, including BIN, KILZ, and others. Even so, it takes multiple coats — of any stain-blocking or cabinet primer — before color stops coming through. Sand lightly between coats.
- Apply the final coat. A dedicated cabinet paint works. Over shellac or urethane, don't use latex; it doesn't bond well to those finishes. Again, we find alkyd paints to be best: they level out, cure hard, and resist the wear a kitchen gets.
- Use a foam brush. For an industrial-smooth finish without a sprayer, a foam brush leaves far fewer brush marks than bristles. Thin, even coats, and patience between them.
Cheaper is generally worse. Don't go cheap — you're already saving money by not demolishing your kitchen.
If painting isn't the right fit
Other options
Laminate refacing
The cabinet boxes are covered in a laminate or thermofoil veneer, and the doors and drawer fronts are replaced to match. No paint, no bleed-through, and a uniform factory look — at a significantly higher price than painting.
Replacing the doors
Keep the cabinet boxes, replace only the doors and drawer fronts, and paint or
Related jobs
More jobs like this
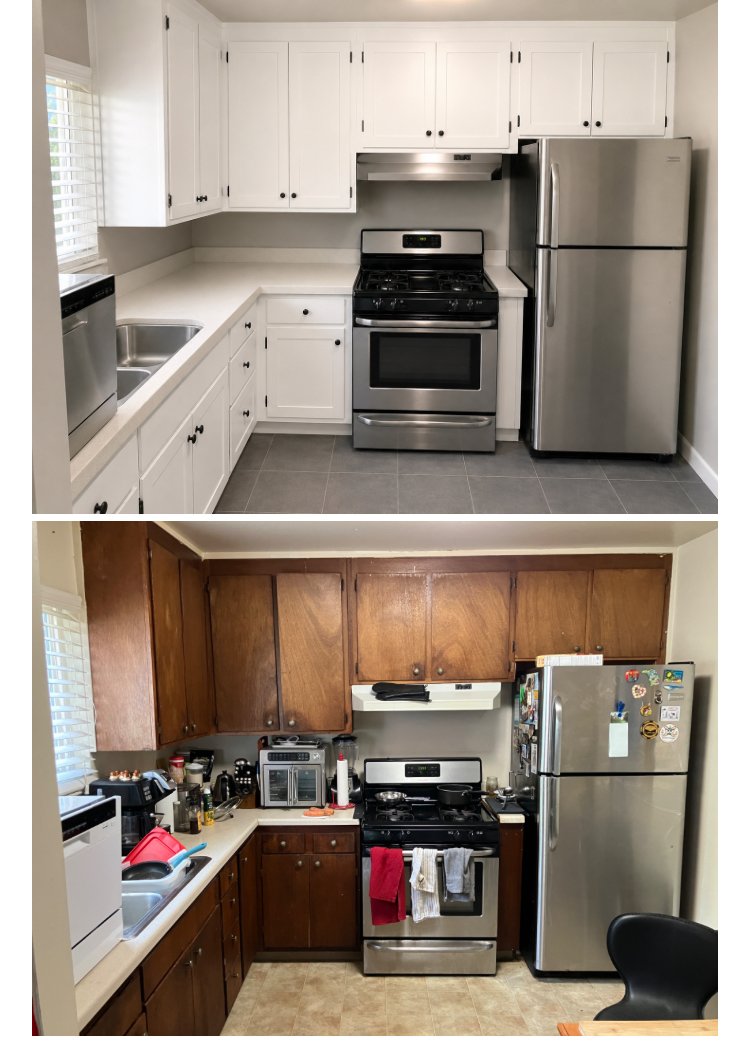
Kitchen Cabinet Resurfacing & Tile in Berkeley
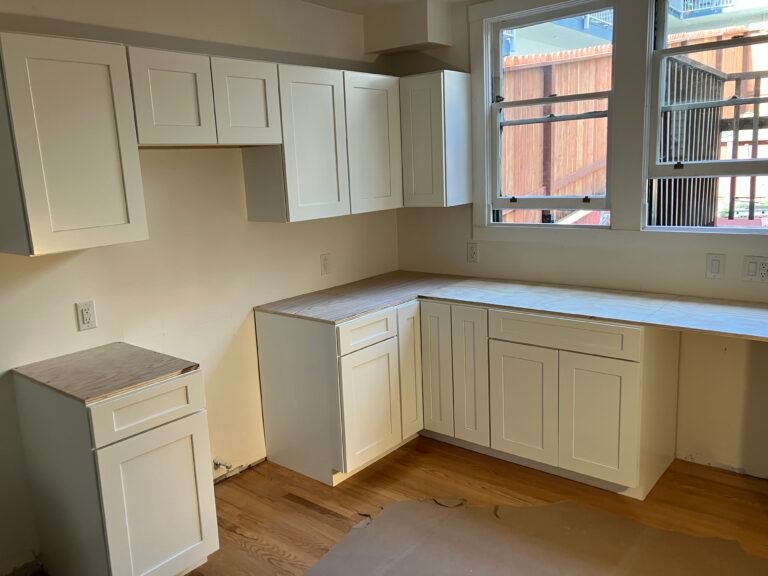
Kitchen Cabinet Installation in the Castro, SF
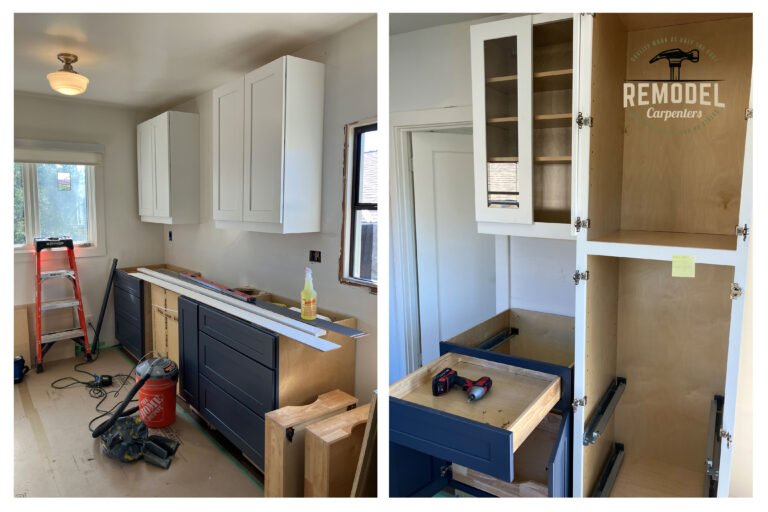
Kitchen Cabinet Installation in Berkeley